

Hands-On Crypto: Create Your Own AI-Powered Blockchain Assistant- No Coding Required
Build an AI Agent with a Crypto Wallet using CDP AgentKit and OpenAI (the non-developer crypto enthusiast version)

What you'll create
In this guide, you'll build an AI agent that can control a cryptocurrency wallet. Your agent will be able to check balances and send transactions on the blockchain.
Why build a wallet-enabled AI agent?
AI agents are powerful for many tasks. Adding wallet capabilities lets them:
Execute financial transactions autonomously
Interact with decentralized applications (dApps)
Manage digital assets based on user instructions
Verify on-chain information in real time
Prerequisites
Before starting, make sure you have:
Node.js 18+ (download or update here)
CDP Secret API Key for wallet access (get one here)
OpenAI API Key for AI capabilities (create one here)
Basic familiarity with command line operations
Step 1: Verify your environment
First, let's make sure you have the right tools installed.
Open a terminal and run these commands.
node --version  # Should show 18+ (our example uses v20.14.0)
npm --version   # Our example uses 10.7.0
Important: Why check this? Different Node.js versions can cause unexpected behavior with AgentKit.
Step 2: Create your agent project
Now create a new project with the scaffolding you need.
# Create a new project (you can change "onchain-agent" to any name)
npm create onchain-agent@latest

# Navigate to your project directory
cd onchain-agent
Important: Why use this command? It sets up all the necessary files and configuration for an agent with wallet capabilities.
Step 3: Configure your environment variables
Your agent needs credentials to access APIs. You’ll put these credentials in a .env file.
# Copy the .env file from the template .env.local file
mv .env.local .env
Now edit the .env file to add your API keys:
OPENAI_API_KEY=your-openai-key
CDP_API_KEY_NAME=your-cdp-key-name
CDP_API_KEY_PRIVATE_KEY=your-cdp-private-key
Important: Why put these in an .env file? It keeps sensitive credentials out of your code and makes them easier to update.
Step 4: Install dependencies and launch
Install packages and start your development server.
# Install dependencies
npm install

# Start the development server
npm run dev
Important: Why run in dev mode? It gives you live reloading and better error messages while building.
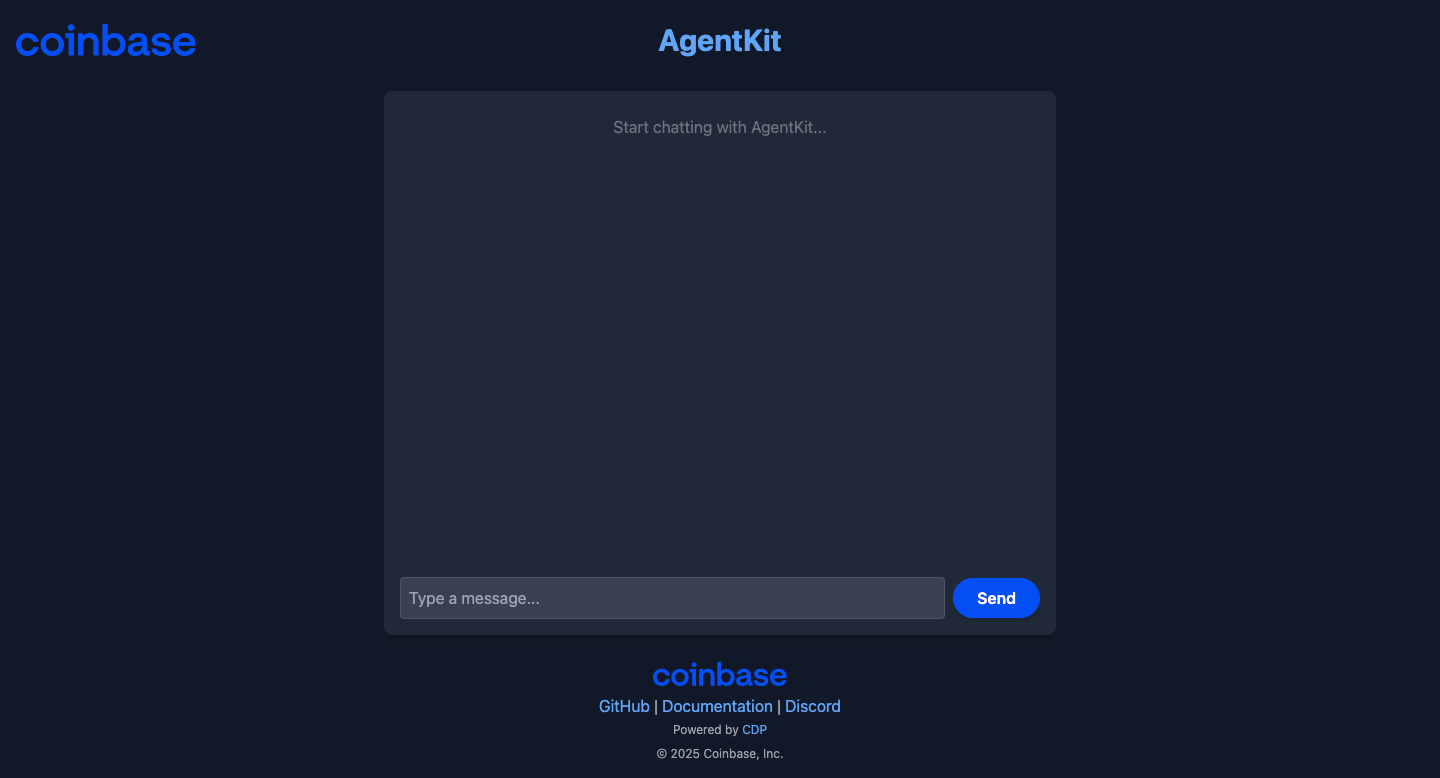
Step 5: Connect to your agent
Open your browser and navigate to:
http://localhost:3000 You should see a chat interface for interacting with your agent.
Step 6: Fund your wallet with testnet ETH
Your agent has a wallet, but it needs funds to perform transactions.
Send this message: "Fund my wallet with some testnet ETH"
The agent will help you get testnet ETH (fake money for testing)
Important: Why use testnet ETH? It lets you test wallet functions without spending real money.
Step 7: Test wallet functionality
Send these two messages to verify your wallet works:
What is my wallet address?The agent should respond with an address
0x77fAcbaE76c5dF41dE9Cadd2Cc408c3144A95Cb0Note: This is not the wallet address you will see. It will be unique for everyone
What is my balance?The agent will check and report your balance.

Step 8: Send a test transaction
Try sending a small amount of testnet ETH:
From wallet [YOUR_WALLET_ADDRESS] send 0.00005 ETH to [ANY_DESTINATION_ADDRESS]Replace the placeholders with real addresses.
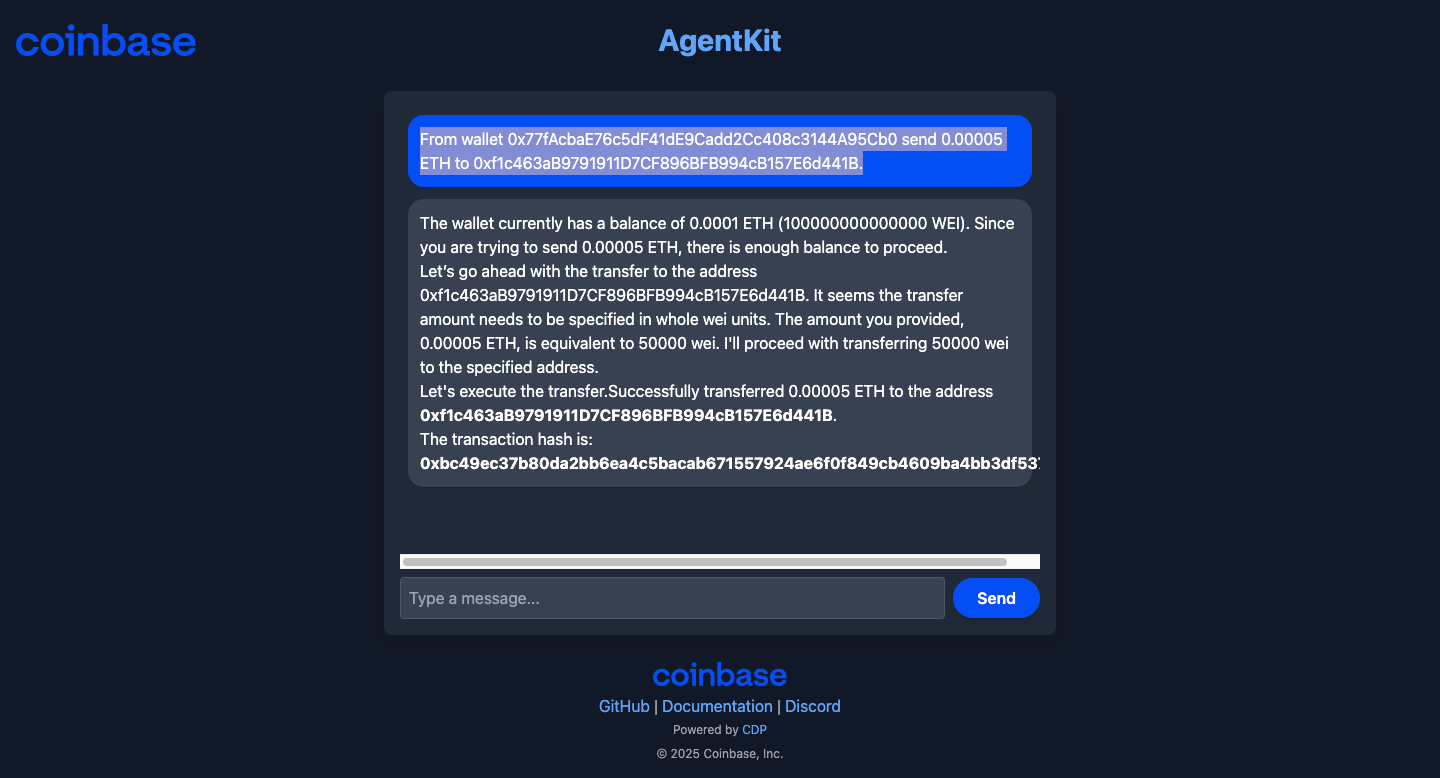
Why send a test transaction? It verifies that your agent can correctly sign and broadcast transactions to the blockchain.
Troubleshooting common issues
Unable to retrieve testnet ETH from faucet
If you see:
There was an error requesting testnet ETH from the faucet. Please try again later. If the issue persists, you might want to fund your wallet with ETH from another source.

OR something like this

Since I'm currently unable to request faucet funds due to an internal error, you may need to fund your wallet through another method. If you have another wallet, you can send ETH to your wallet address 0x77fAcbaE76c5dF41dE9Cadd2Cc408c3144A95Cb0.
Limit: You can request 0.1 ETH each day. Try one of the other faucets listed here.
OpenAI API quota errors
If you see:
Error [InsufficientQuotaError]: 429 You exceeded your current quotaYou need to add credits to your OpenAI account or adjust your usage. For this article, I added $10.

Wallet not showing balance
If your wallet shows zero balance:
The faucet transaction might still be pending
You might be on the wrong network
The agent might be connected to a different wallet
Ask the agent: "What network am I connected to?" to verify.
Transaction failures
If sending ETH fails:
Confirm you have enough balance (including gas fees)
Double-check your address formatting
Verify you're not hitting testnet rate limits
Conclusion
Playing around with AgentKit's current capabilities,

At the moment, many of the actions listed here are beyond its current scope. But the platform is constantly evolving. Plus, they have a passionate and vibrant developer community. I can’t wait to see what will be next.

Resources